It is anticipated that there will be 2.71 billion online shoppers in 2025, with 26.5 million eCommerce websites vying for their attention. To stand out amidst the competition, eCommerce store owners need the ability to expand or adjust offerings and services quickly, integrate leading-edge tools for customer engagement, and expand to new channels as opportunities exist. There are many business, IT and marketer considerations that could be driving a switch to a new eCommerce platform (our guide to Choosing the best eCommerce platform).
Many Shopify customers are making the switch to BigCommerce in 2025 to achieve new business and sales goals. This guide will assist eCommerce business owners, web developers and digital marketers with detailed information on:
- Why retailers are migrating from Shopify to BigCommerce
- How to prepare to make the switch
- How to migrate store data without losing information or experiencing significant downtime
- How to integrate third-party apps and services on BigCommerce
- How to maintain or improve the user experience for customers with the migration process
- An evaluation of costs for migration
What Are the Advantages of Migrating From Shopify to BigCommerce?
Shopify and BigCommerce are both well-known eCommerce platforms, with many people often wanting a comparison of BigCommerce vs Shopify. While many brands may start off with Shopify as a retailer, particularly if you have a limited budget for developer resources or customizations and are happy using the third-party marketplace to suit all your needs, it may be that over time you have found Shopify limiting and think BigCommerce is a great alternative.
Some of the reasons why businesses may migrate from a Shopify online store to the BigCommerce headless platform include:
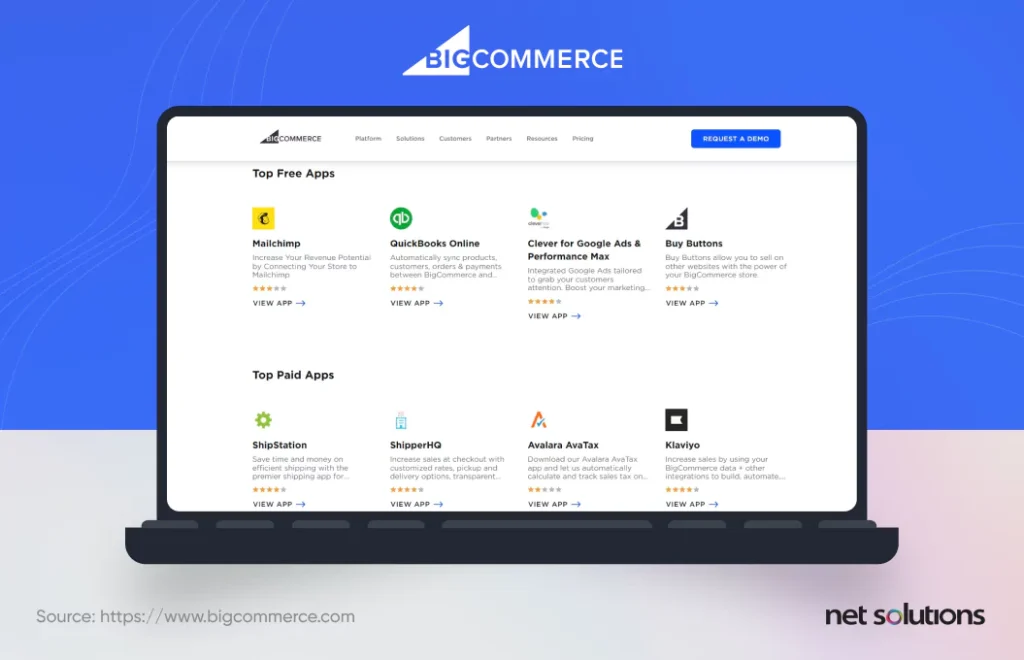
- To gain access to BigCommerce’s marketplace of enterprise integrations and eCommerce apps (see our list of the best BigCommerce apps), which differ from Shopify’s app options
- Want to use standard programming languages instead of being restricted to Liquid, Shopify’s proprietary language
- To have a platform with more out-of-the-box functionality (vs using Shopify apps) alongside an impressive extensibility (BigCommerce offers 95% eCommerce API coverage on the platform)
- Want to gain access to BigCommerce’s advanced sales & marketing features in inventory management, custom orders, offline commerce integration, catalog migrations, visual merchandising or customer relationship management (CRM)
- Need unlimited staff accounts (Shopify limits these, even at Shopify Plus)
- To leverage BigCommerce’s best-in-class SEO
- The use BigCommerce to deliver a global shopping digital customer experience that’s 20% faster than average thanks to an optimized CDN
- To gain the benefit of BigCommerce’s average 99.99% uptime, higher than average rates
- You are a B2B eCommerce retailer but do not like the features or added transaction fees of Shopify Pro and want the additional options included in BigCommerce
While migrating from one platform is not without its costs (enterprises can expect between $25,000 to $500,000), in the long-term these benefits can pay off to help deliver on your business goals. Let’s have a look at how you can prepare for the Shopify to BigCommerce migration.
Getting Ready to Switch From Shopify to BigCommerce
Once you’ve decided to make the switch from Shopify to BigCommerce (eCommerce replatforming), it’s important to create a plan. We lay out the following simple steps to get started.
Step 1: Review your Shopify store to establish goals & requirements
The first step in your migration journey is to understand where you are now in your source store and where you want to go.
- Speak with key stakeholders (business, marketing, developers) to understand how they use Shopify and the challenges they experience or features they are missing
- Audit your Shopify store to identify what functionalities are essential to keep and all the various data stores (product catalog, customer data, Shopify apps used, any existing customizations). Create a taxonomy of pages (by type) and URL structures and benchmark current SEO.
- Establish the business goals for the migration to BigCommerce (look at KPIs including sales, customer acquisition, retention)
- Set a launch date and preliminary budget to help guide the migration planning
- Create comprehensive requirements for the project including:
- Connections to internal systems (e.g. CRM, ERP, CMS, PIM, DAM, SSO)
- Mapping current Shopify apps to BigCommerce: what is replaced by the platform itself, what services have a BigCommerce equivalent, what apps needs to be replaced, are custom integrations required
- What changes need to be made to design or user experience (UX)
- If necessary, create a plan for SEO improvements or URL redirects
- Establish which eCommerce APIs will be required
Planning is the first step in a successful migration from Shopify to BigCommerce, and often the opportune time to bring in a Certified BigCommerce partner to create and action your migration plan. Outsourcing is an effective way to gain the expertise you need to ensure your eCommerce business is optimized on BigCommerce and the transition is completed quickly with the least disruption.
Step 2: Keep your Shopify store data safe
The first step in migration from Shopify to BigCommerce is to prepare for the data migration. Before you export your data, however, you want to:
- Map data – so you know where it all is
- Clean current data – to ensure you know what you have and that data isn’t old, duplicated, or in the wrong format for BigCommerce (see BigCommerce for sample data templates)
Manual export of data in CSV files
Shopify supports exporting data in CSV format. You will need to export orders (with or without transaction history) from the Order page (click export), products, customer lists (without passwords), and discount codes. Alternatively, there are many Shopify apps that can help with export.
You will want to export data to begin the process of importing to BigCommerce, likely in batches to give you a chance to verify everything is working effectively. You will then do one final import before Go Live to ensure you have completed a full migration to ensure your new BigCommerce data stores are up to date.
Backup data
All Shopify data, including attachments, should be backed up, and the backup should be verified as completed successfully. Be sure to double-check for any data that could be stored within third-party applications.
There are three primary methods to backup your data in Shopify:
- Using the Shopify API: You can create your backup app using the Shopify API
- Using third-party backup tools: Shopify lists many tools (225) to create a backup of your Shopify store.
- Manual export: The data you downloaded in CSV format can also be considered a back-up.
Step 3: Set up a new BigCommerce store
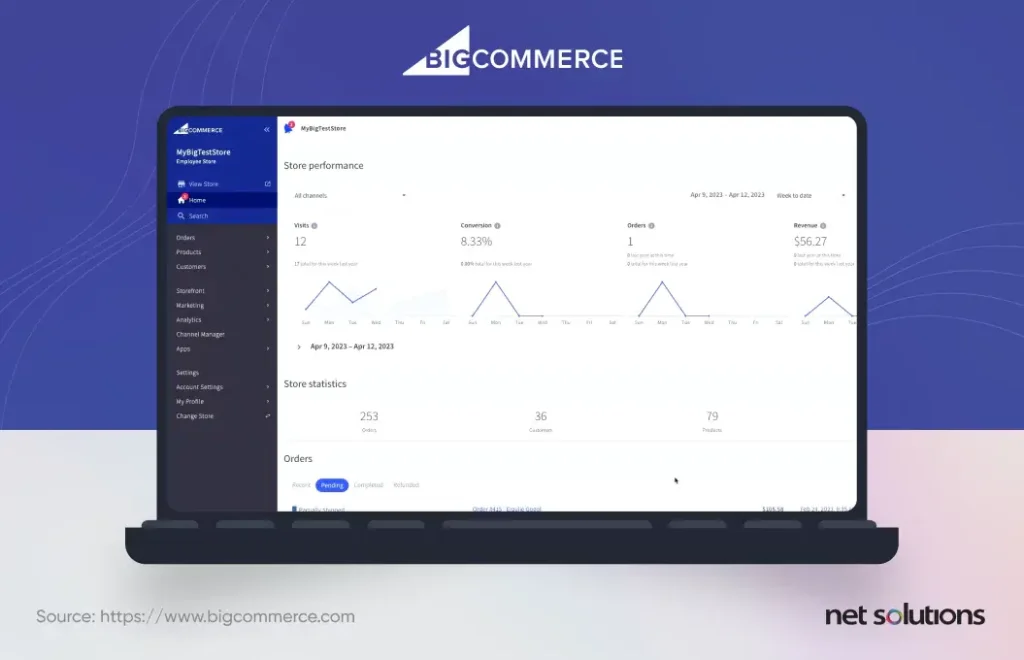
It’s time to set up your BigCommerce store! You may have done this as part of your RFP process, but if not you can sign-up for a risk free demo to create a trial store to begin working on your new store functionality and design and to become more familiar with the new platform.

The next step is when you will start your official migration from Shopify to BigCommerce.
Migrating From Shopify to BigCommerce
Based on all the work you’ve done to prepare your big move, you can now follow a step-by-step process to begin migrating from Shopify to BigCommerce. These moves can take time and require expertise to ensure smooth sailing, making sure that data is transferred correctly and that all operations subsequently work as they should.
If all of this sounds overwhelming, consider working with a certified BigCommerce Development Services provider.
Step 1: Migrate Data
Manual CSV
BigCommerce allows storeowners to import data via CSV file manually. Please note, however, that orders, coupons and reviews cannot be imported by CSV and require the use of BigCommerce’s own app or a third-party app.
When manually importing a CSV, be sure to reference BigCommerce templates on customers and products to ensure formatting is accurate for transfer. BigCommerce does not recommend transfers over several hundred products or SKUs at a time to avoid stalling out.
Using third-party migration tools
There are several third-party applications that are approved by BigCommerce to support migration from Shopify. Alternatively, Shopify offers several apps in its own app store to support bulk export of store data into CSV.
BigCommerce’s Shopify data migration app
In fact, BigCommerce offers its own Shopify data Migration app and data migration services. The app is:
- Free for a combined total of 1,000 products (product details) in the product catalog, orders and customers (A fee is charged for larger exports)
- Not fully compatible with multi-storefront
- Does not migrate passwords
Migrating product categories
Shopify does not allow its storeowners to export collections, impacting the ability to export categories. If you are using the Shopify Data Migration app from BigCommerce, the app will attempt to create categories based on the Type field (if available) or will be assigned to the store as “No_cat.”
Migrating customers
Basic customer details (name, email, phone, address) can be exported from Shopify and imported into BigCommerce (manually or with an app), but due to laws regulating data security (e.g. PCI Compliance), passwords cannot be exported. Instead, customers will be required to reset their password next time they log in.
Transferring sales and order data
Although order data can only be transferred into BigCommerce via app, BigCommerce highly recommends exporting your order data to CSV to save for tax purposes.
Migrating reviews to BigCommerce
Reviews can only be migrated using BigCommerce’s Data Migration app or a free review importer app. For larger stores, this would also be covered under managed migration service options.
Step 2: Integrations
After you have moved over all your data, it’s time to refer back to the technical requirement plan to work through all the integrations you’ll be adding to BigCommerce, prioritizing first all the internal system integrations (e.g. ERP) and moving towards those that are more business-critical or which are more heavily customized on Shopify, requiring more work to switch to an equal or different app on BigCommerce or creating a custom integration to continue using a service you want to maintain.

Test, test and test, but know that 100% accuracy in the integration may be unrealistic for launch.
Step 3: Design & UX
The front-end (the storefront) is where customers will interact with your eCommerce brand, either on a website, mobile device or social media. You can:
- Use BigCommerce’s hosted storefront, which includes fully responsive themes customized to your brand and/or new requirements using the Stencil CLI. Note that responsive themes are a bit slower for performance than custom front-ends for each channel.
- Take advantage of BigCommerce’s headless capabilities to build your own storefronts using the Catalyst framework and GraphQL Storefront API, optimized for Next.js and React
- Create customized experiences, for example, using the Checkout SDK to create a custom checkout experience
- Leverage connectors to frontend experiences in WordPress, Drupal, Adobe Experience Manager, Bloomreach, and Deity
What to Do After the Migration
After completing and validating data transfers in stages (ensuring data accuracy and testing order and checkout flows), you’re ready to set up BigCommerce’s back office.
Step 1: Set up taxes and shipping
BigCommerce will walk you through setting up shipping and taxes, taking details about where you ship from, shipping zones, and shipping services shown to shoppers (like flat rates or real-time quotes). BigCommerce can manage basic taxes, determining sales tax based on shipping origin address.
For more comprehensive support, many BigCommerce integrations support taxes and shipping.
Step 2: Set up payment methods
BigCommerce auto-enables PayPal powered by Braintree for eligible storefronts, but you can also move your existing payment gateway to BigCommerce. Look for the preferred gateway and enter your details to make the switch.
Step 3: Update the DNS and update domains
When you’re ready to make your site ‘Go Live’, you will have to:
- Set up email forwarding for your domain or with your third-party email provider
- Point your DNS host to BigCommerce, either by changing your nameservers, creating a CNAME record or creating an A record. Please note changes could take up to 72 hours to be reflected around the world.
Step 4: Test order & checkout flows
This is the time to do thorough testing, ideally by many people within the organization as well as by customers (who can be incentivized). Ideally, testing includes looking at various pages to spot errors or broken links and then proceeds through to order and checkout flows.
BigCommerce offers some tips on creating a Test Order. Ideally you only use a test product, so that no impact is felt on actual inventory levels. Keep in mind when testing, transactions must meet your payment gateway’s criteria to issue a refund.
Step 5: SEO Updates
At the start of planning, you had a general idea of the status of SEO and perhaps some goals. The audit may have revealed the need to update some pages to improve on-page SEO rankings, remove others, or change the store’s URL structure.
If you used the BigCommerce migration app, 301 redirects were automatically created for Shopify product and category URLs, permanently directing old URLs to the new ones. BigCommerce is known for its SEO and has a handy guide for more tips on how to optimize your site and your SEO URLs. Alternatively, you can leverage a partner to streamline getting your pages updated with appropriate microdata, on-page data and create a plan to improve your overall SEO.
The Importance of Getting Expert Help
BigCommerce is a powerful enterprise eCommerce solution provider, providing composable architecture and headless commerce integrations to help brands scale online sales with greater control over how everything comes together. We hope this post has been a helpful tutorial, but if you are looking for additional assistance in exploring migration options or specifically assisting your Shopify to BigCommerce transition, we’re here to help.
Net Solutions is a certified BigCommerce partner, ready to help you make the switch from Shopify to BigCommerce with ease. As part of our Custom eCommerce Development Services, we are ready to help at all stages, from strategy and migration to the optimization of digital experiences across a variety of touch points and even to be your support team in the long-term.


